#Industry News
How to Install a Roof Hatch?
Roof Hatch
Installing a roof hatch is a simple process that works seamlessly with both existing and new buildings. It offers excellent insulation while maintaining the building's original aesthetics. In this article, we'll guide you through the installation procedure and provide an instructional video.
Installation: Simpler and More Cost-Effective than Roof Structures or Rooftop Houses
Traditionally, roof access was achieved through roof houses, additional rooftop structures with doors. However, adding such structures can complicate permit processes and alter the building's appearance.
Have you ever considered a roof hatch as a practical alternative? A roof hatch seamlessly integrates into existing and new buildings, offering exceptional insulation and preserving the building's original charm.
The Installation of a Gorter Roof Hatch
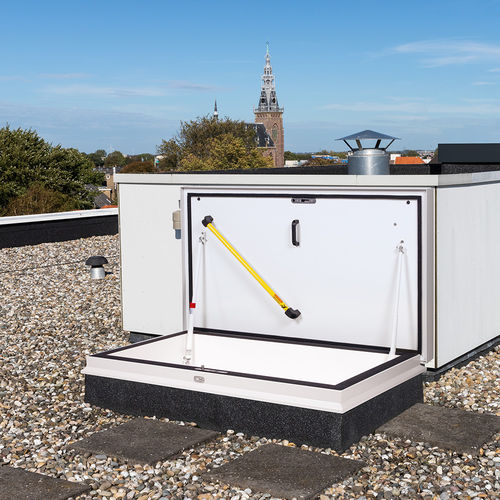
A Gorter RHT roof hatch with a closed cover is perfect for installation in flat roofs with a maximum pitch of 30°. For roofs with a maximum pitch of 5°, you can opt for a glazed roof hatch, type RHTG. All Gorter roof hatches are delivered fully assembled and "ready to install." You can watch the installation process in the video provided below.
The installation involves the following steps:
Step 1: Create a Roof Opening
Step 2: Decide Whether to Raise the Upstand or Leave It
Step 3: Attach the Roof Hatch and Test the Closure
Step 4: Connect Roof Insulation and Apply Roof Covering
Architect Information: Specifications and REVIT Drawings
If you're an architect looking to incorporate a Gorter roof hatch into your plans, you can conveniently download specifications, BIM (Revit), AUTOCAD, and PDF drawings from the Gorter website.
Interested in exploring more about Gorter roof hatches and their applications?
You can view all CE(ETA)-certified roof hatch models by following the link provided. Additionally, please feel free to contact a Gorter advisor directly or request a quote.


